If you want to display a check mark for “Done” in Excel, you have various options. The easiest way to do this is to insert a font.
Create checkmark for “Done” via Excel system font
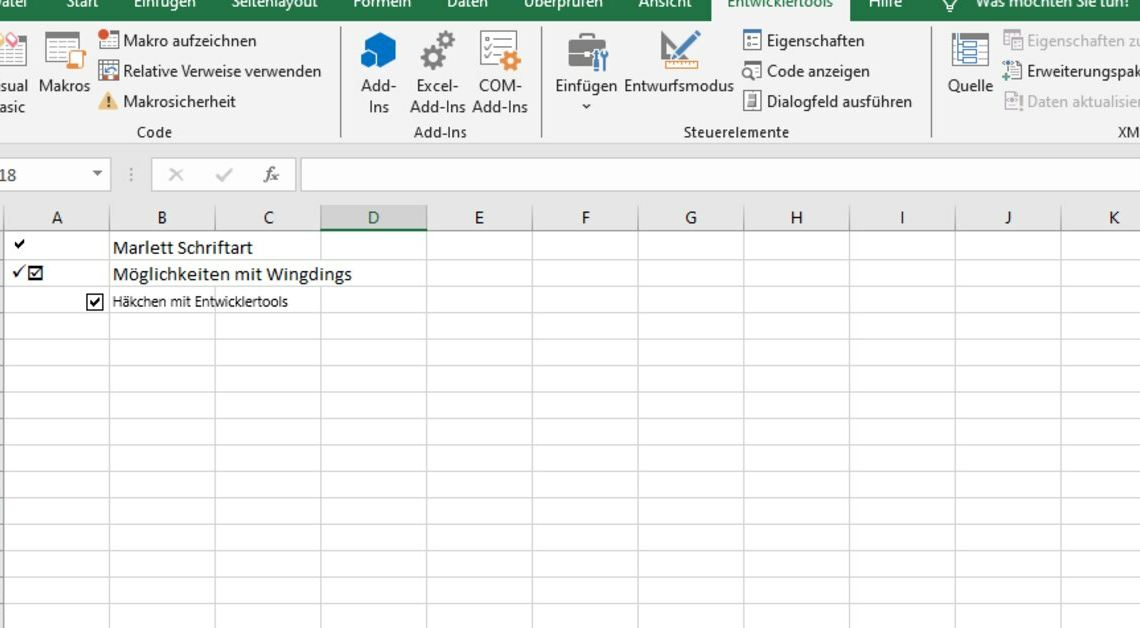
The easiest way to insert a check mark is to use the TrueType system font “Marlett”. This font is installed by default with Excel.
- To insert the check mark, enter a lowercase “a” in the document and select it.
- Either change the font in the corresponding field of the ribbon above or right-click on the cell and select “Format Cells” in the next step.
- Activate the “Font” tab and then select “Marlett” from the “Font” combo box.
- After clicking on “OK” the check mark you are looking for appears. You can also format an entire column in this way by first selecting it completely. When you enter the letter “a” a check mark will then appear automatically.
- Tip: The “Marlett” font contains numerous special characters, such as small triangular arrows like those used by Windows in the Start menu: All you have to do is enter “3”, “4”, “5” or “6” and then change the font as described.
- Alternatively, go to the Insert tab and click on Symbol. Select the Wingdings or Segoe UI Symbol font. Find the check mark symbol and insert it.
Check mark for advanced users: Use developer tool
To represent a check mark for “Done” in Excel, you can insert a check box into the table. Setting a check mark in this way is advantageous because you can activate or deactivate it by clicking on it.
- Click on the “File” tab in the top left. Select “Options” and then “Customize Ribbon”. Check the box next to “Developer” and click “OK”.
- Go to the Developer tab and click Insert. Under Form Controls, select the check box icon. Place the check box where you want it in the document.
- Right-click the checkbox to edit the text or adjust the format.
Also interesting:
- Excel: Create a dropdown – here's how
- Create sliders in Excel: How to do it
- Excel: Insert button – how to do it