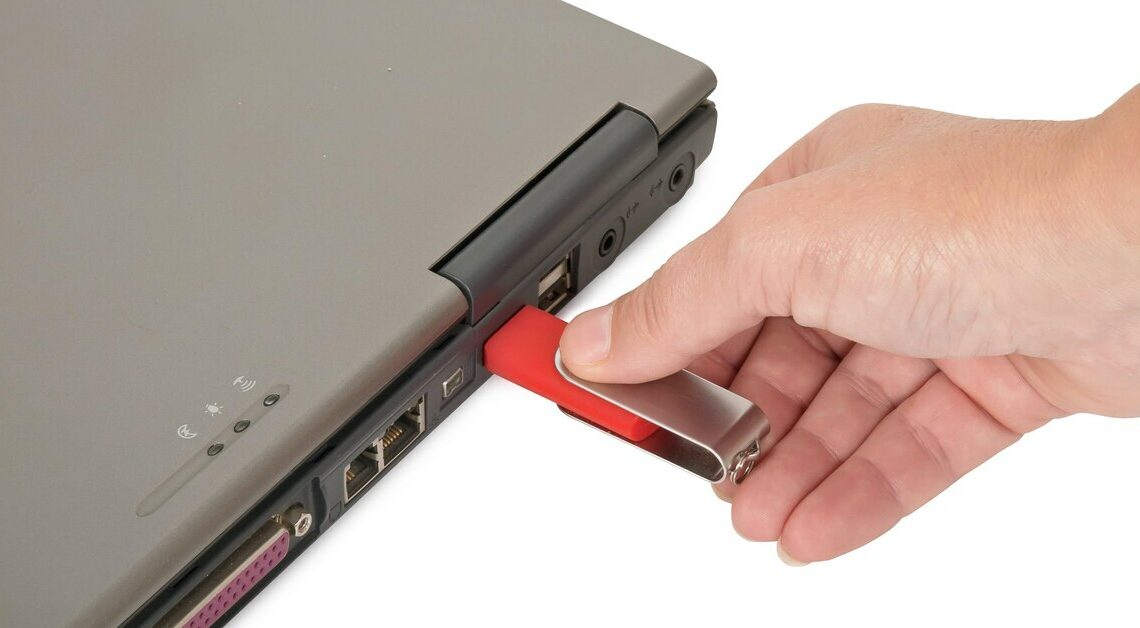
You can use a USB stick on both a Mac and a Windows computer. However, you will need to format the media accordingly.
Format USB stick under Mac OS X
In order to use a USB stick with both a Mac and a Windows computer, you must format it accordingly.
- Connect the USB stick to your Mac.
- Go to your Applications folder and then to the Utilities subfolder.
- Open the “Disk Utility”. Here you can see all connected drives – including the USB stick.
- Select the USB stick you want to format. Make sure it is the right one, because formatting will erase all data on the stick.
- Select the USB stick and click “Partition”.
- In the dropdown menu under “Volume scheme” you can select the desired number of partitions, i.e. virtual drives on your USB stick. Normally one partition should be sufficient.
- Click the “Options” button and in the dialog box select the “Master Boot Record” partition scheme. This is the scheme that both Windows computers and Macs can read and write. Click “OK”.
- In the “Volume Information” area you can enter a name for your USB stick.
- In the drop-down menu under “Format,” select “MS-DOS (FAT)” or “ExFAT.” Only this file system is compatible with both OS X and Windows.
- Click on “Apply” and confirm the security query by clicking on “Partition”. Wait until the process is completed.
Format USB stick with Windows
The Mac can read every Windows partition format, but not write to every one. For this reason, even if you format your USB stick on a Windows computer, you must choose the correct file system:
- Connect the USB stick to your Windows computer.
- In Windows Explorer you will find the USB stick as a drive in the “This PC” area.
- Right-click on the USB stick and select “Format…” from the context menu.
- In the formatting window, select “FAT 32” or “exFAT” as the file system so that a Mac can also access the media. Note that FAT32 has a file size limit of 4 GB, while exFAT supports larger files.
- Under “Volume label” enter a name for your USB stick.
- If necessary, activate the check box for “Quick format”.
- Click on “Start” and confirm the security query with “OK”.
- Tip: If you want to use a hard drive with your Mac and Windows, proceed in the same way as with the USB stick.
You might also be interested in:
- File too large for USB stick – what you can do
- USB stick shows too little memory – what to do?
- Use a USB stick as a hard drive – this is how it works
- SSD USB stick: This is what it’s all about