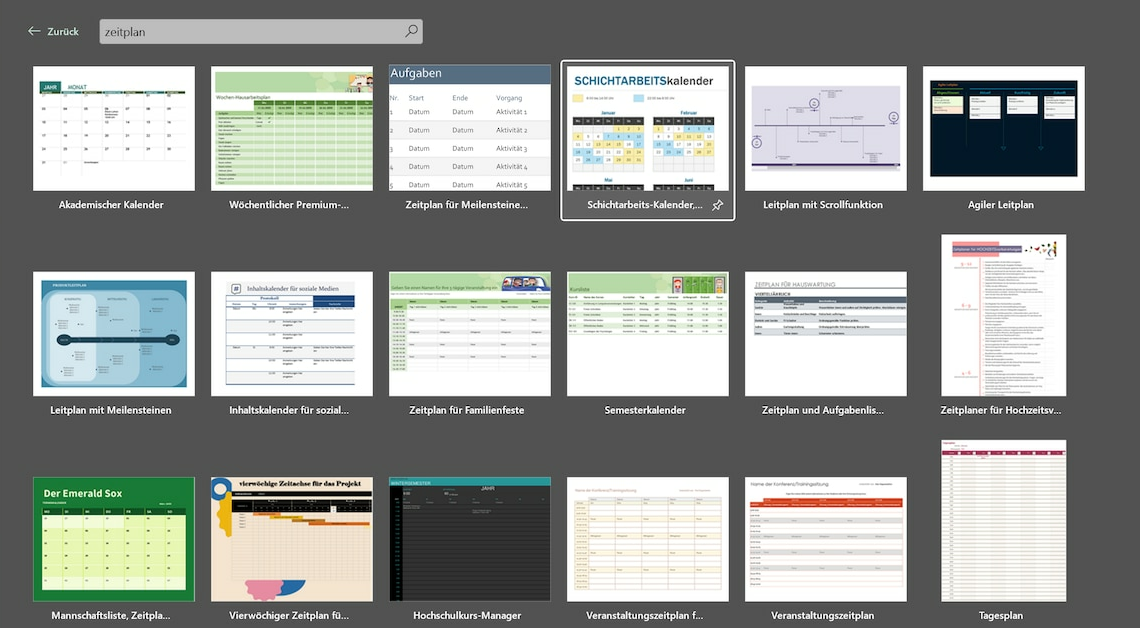
Using Office.com templates in MS Excel, you can easily create a schedule. For example, you can create a vacation plan.
Create a schedule using Excel templates
Creating a schedule in Excel is possible in just a few steps using the templates.
- After opening a blank Excel document, go to the “File” tab in the menu bar.
- Here you will see a list on the left side where you click on “New”.
- You will now see all the Office.com templates provided by Excel. Here you open the folder labeled “Schedules”.
- Click on the “Business Plans” subfolder that opens. Here you will see eight templates for schedules.
- Select the one you want and click on the “Download” button on the right under the preview function.
Create a schedule without a template
Before you start designing a schedule in Excel, you should think about the basic structure of your table.
- Think about which time periods you want to cover and which tasks or activities you want to include in the plan. In Excel, you have the option of formatting the individual cells according to your needs.
- Start typing hours in the first column and days or tasks in the first row. Use the Text cell format to ensure your data displays correctly.
- A clear structure makes it easier for you to keep track of things later and to adjust the plan if necessary. Use the option to connect cells to clearly display related periods of time or tasks. A well-structured table is the first step towards an efficient schedule.
Formatting and customization
After you have created the basic structure, you should take care of the formatting of the table.
- Excel offers numerous options for designing worksheets. Adjust the column widths and row heights so that all information is easy to read.
- Use colors to label or prioritize different tasks. This makes it easier to find your way around and helps to distinguish important from less important tasks.
- You can also use conditional formatting to automatically highlight certain cells when certain conditions are met, such as reaching a certain date. Customize the font and size to keep the schedule organized and ensure all information can be understood at a glance.
Automation and optimization
Another advantage of Excel is the ability to automate planning using simple formulas and functions.
- For example, you can have the start and end times calculated automatically using simple arithmetic operations. This saves time and reduces the risk of errors.
- Use the Data Validation feature to ensure that only valid values can be entered in certain cells. This is especially useful if the schedule is used or edited by several people.
- Another useful feature is “Conditional Formatting,” which allows you to automatically format certain cells depending on their contents. This provides a better overview and helps to dynamically adapt the plan to different requirements.
