If you want to set up a printer on the network, you can access it from multiple devices. For this, your printer must be network-capable.
Setting up a printer on the network: How to do it
The first step is to make sure that your printer and all devices that will access it are connected to the same network:
- To connect your printer to the network, first turn it on and open the menu. If you want your printer to connect via WiFi, navigate to the network settings and look for your WiFi network (SSID).
- Select it and enter the Wi-Fi password to establish the connection. Once the connection is successful, this will be shown on the printer display.
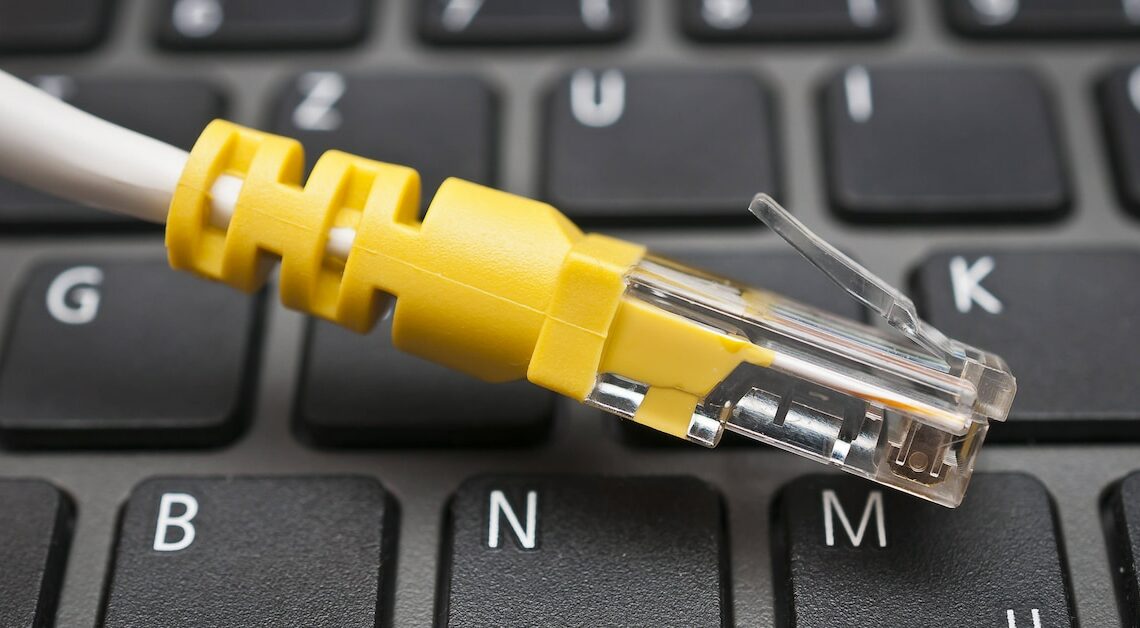
- If you prefer an Ethernet connection instead, simply connect your printer to your router with an Ethernet cable. The printer should automatically receive an IP address from your network.
- To add the printer on your computer, on Windows, open the Control Panel and navigate to “Devices and Printers.” Select the “Add a printer” option and Windows will search for available network printers. Once your printer appears, select it and install the necessary drivers if necessary.
- On macOS, open System Preferences and select Printers & Scanners. Click the plus sign (+) to add a new printer. Once your network printer appears, select it and install the appropriate printer software if necessary.
More tips for setting up your printer
After installation, you should print a test page to ensure that the printer has been set up correctly. You can perform the test print directly from the printer settings on your computer:
- If you experience any issues, make sure the printer's IP address is correct and on the same subnet as your devices. Also, check your firewall settings to make sure printer access is not blocked.
- If necessary, download the latest drivers from the manufacturer's website and reinstall them.
- If your printer is connected directly to a computer via USB and you want to share it with other devices on the network, you can do this in Windows via the printer properties. To do this, go to the Control Panel, right-click on the printer and select “Printer Properties”. In the “Sharing” tab, activate the option “Share this printer”.