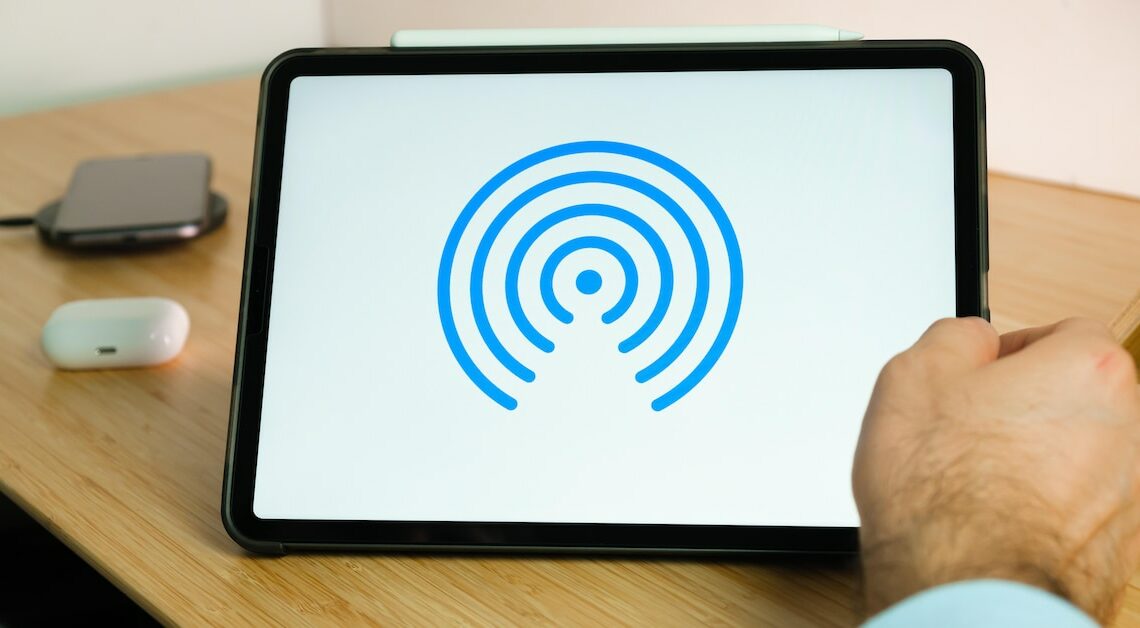
With AirDrop, files can be exchanged quickly and easily between Apple devices, such as the iPad.
Enable AirDrop on iPad
To use AirDrop on your iPad, you must first enable the feature in the settings. Open the Settings app on your iPad. Scroll down to “Generally” and tap „AirDrop“. Here you will find three options:
- “Reception off”: Select this option if you do not want others to be able to send you files.
- “For contacts only”: Only people in your contact list can send you files. Useful for additional security and privacy.
- “For all”: Anyone nearby can send you files, even if they are not in your contacts. This option is useful if, for example, you work in a team and want to quickly exchange data.
Additional steps for smooth use
AirDrop does not always work smoothly if certain requirements are not met. If you are having problems, you should check the following settings:
- Turn on Bluetooth and Wi-Fi: AirDrop needs both to detect nearby devices. You can enable this either from Settings or from Control Center (by pulling down from the top right corner).
- Turn off Do Not Disturb mode:If Do Not Disturb mode is enabled, AirDrop may be blocked. Make sure this mode is disabled.
- Disable airplane mode: AirDrop only works when Airplane Mode is off. Turn it off in Control Center or Settings.
- Leave iPad unlocked: If your iPad is locked, AirDrop won't work. Make sure the screen is active while you send or receive files.
- Turn off Personal Hotspot: If the hotspot is active, it may affect the functionality of AirDrop. Disable it to ensure a stable connection.
