Word has its own feature for creating labels. This is especially useful if you don't want to write an address by hand or label something.
Instructions: Create labels and address stickers in Word
Basically, creating labels in MS Word is relatively easy. However, you need to know the right settings so that the format is correct in the end. We will tell you the right settings in this step-by-step guide:
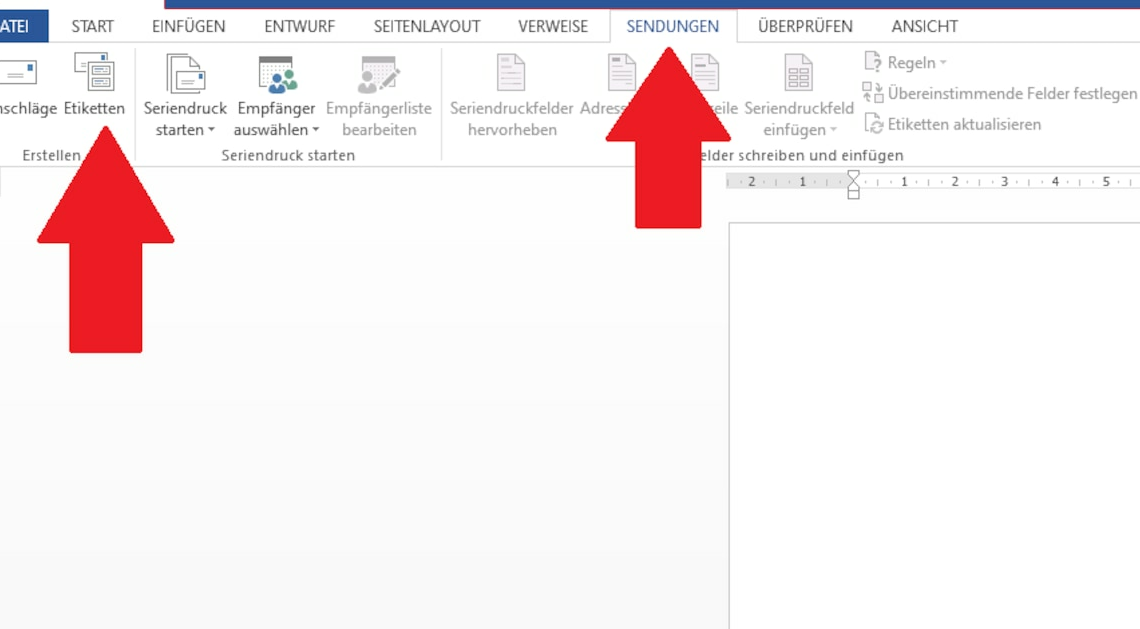
- At the top of Word, switch to the “Broadcasts” and click on the point “Labels“.
- A new window will open in which you can first type in the recipient's address at the top. Alternatively, you can select a recipient from your Outlook contacts using the address book button.
- Click on the button below “Options” to select the design for the label. Here you can select the manufacturer and model if you want to print ready-made labels. You can also select your own format template using the “New label” button. In this example, we will select the standard format from the manufacturer “Avery Zeckform” with the number “3448”. Then click on the “OK” button.
- Now select whether you want a page full of labels (“One side of the same label“) or whether you just “A label” Click on the button “New document“, the label is transferred to Word.
- If necessary, you can now Size, font and Color of the label change. Using the keyboard shortcut (Ctrl) + (P) you can then print.
Latest Videos
Step 1: Open the labels function in Word – this is where you start creating the labels.
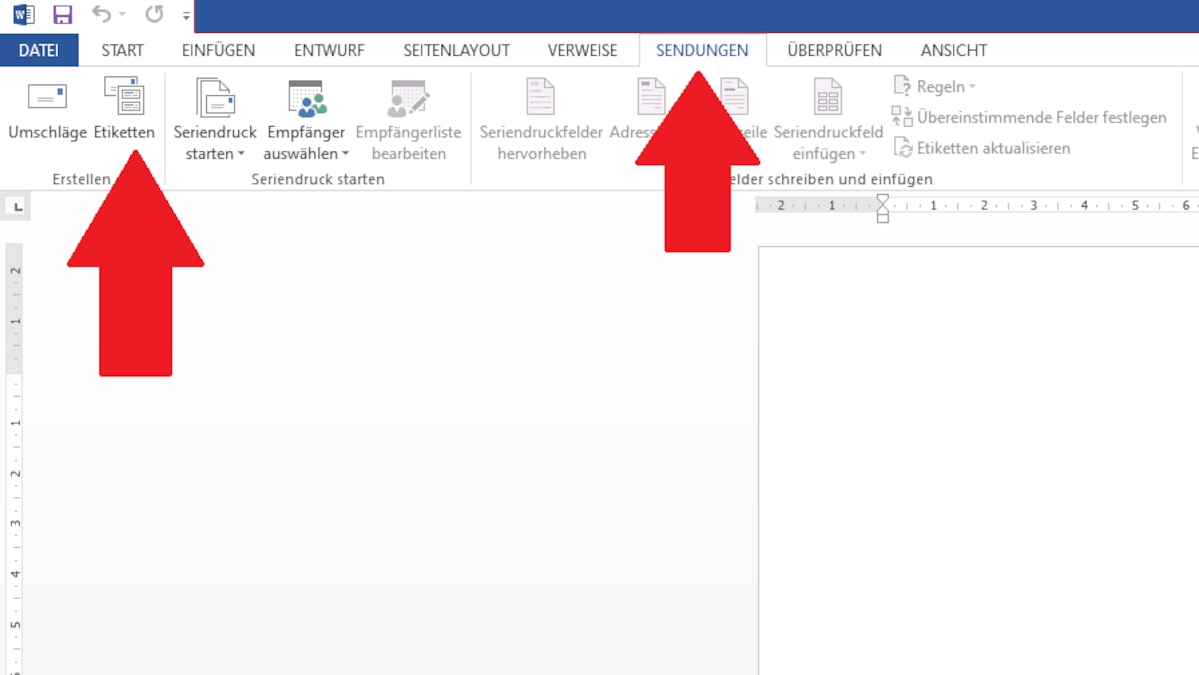
Step 1: Open the labels function in Word – this is where you start creating the labels.
Step 2: Type the address for labels in Word
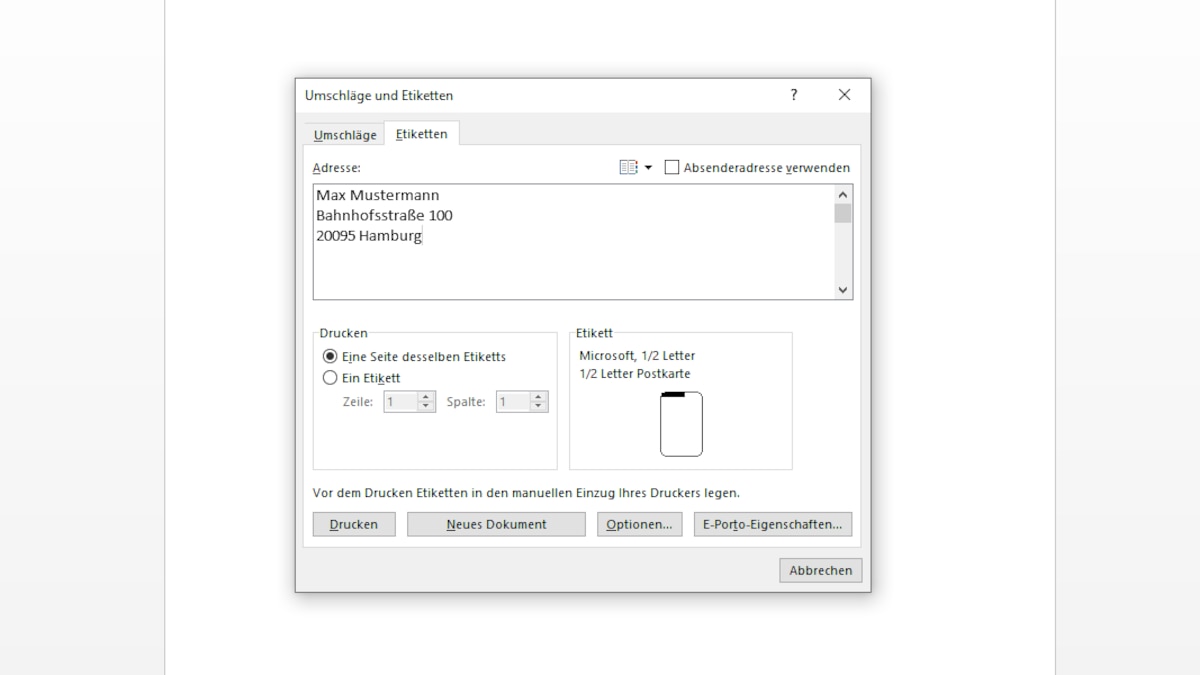
Step 2: Type the address for labels in Word
Step 3: Selecting the right label format
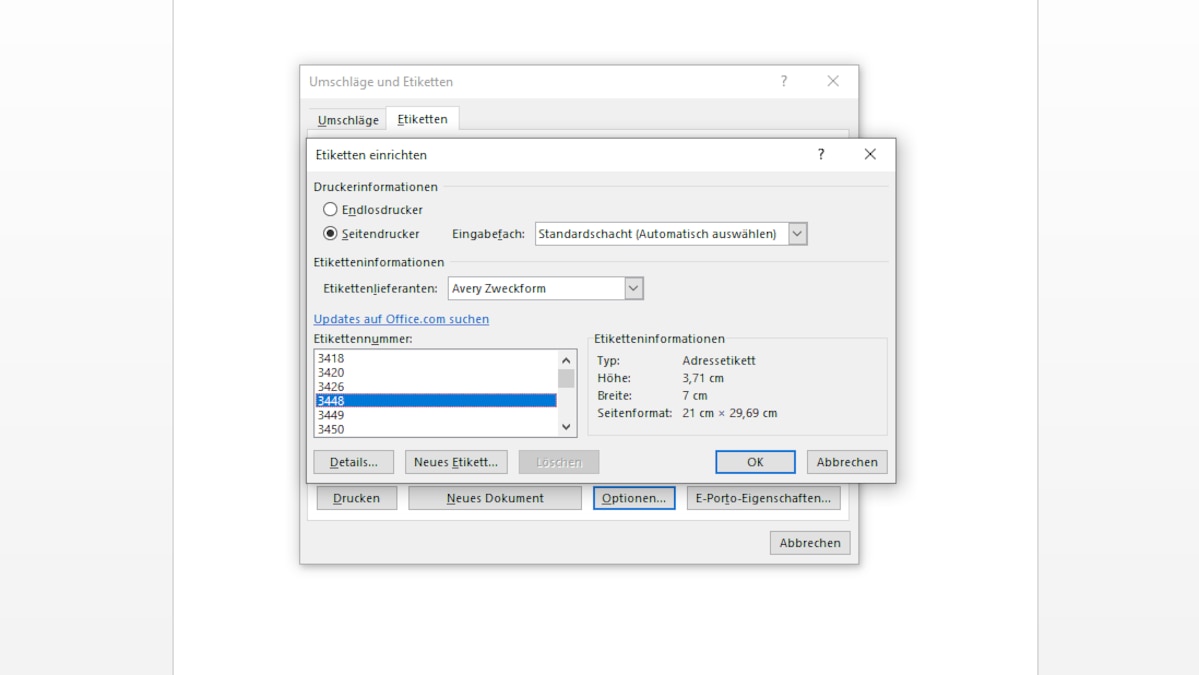
Step 3: Selecting the right label format
Step 4: Transfer labels to Word document
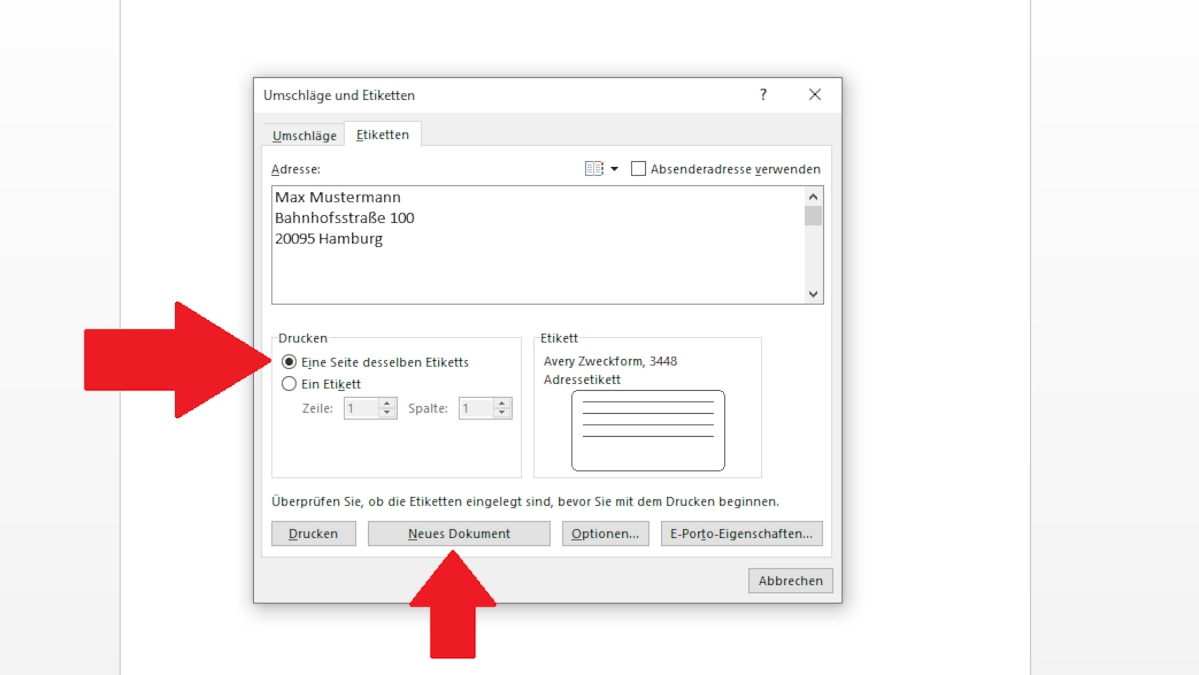
Step 4: Transfer labels to Word document
Step 5: Print labels with Word
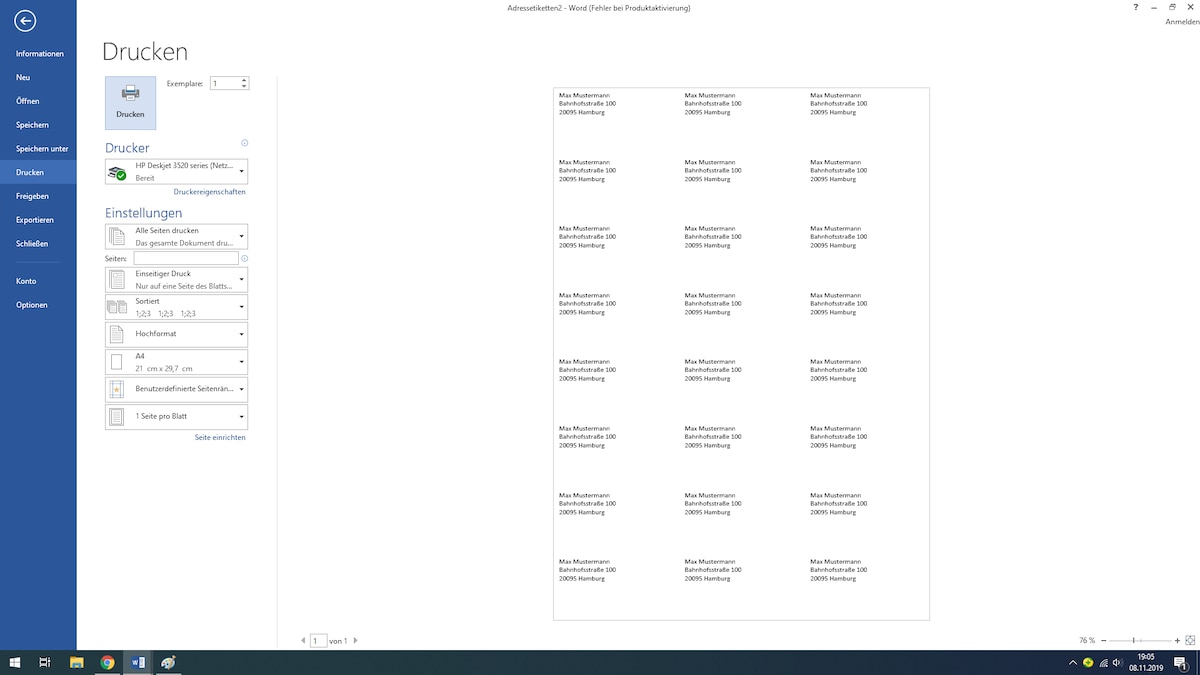
Step 5: Print labels with Word