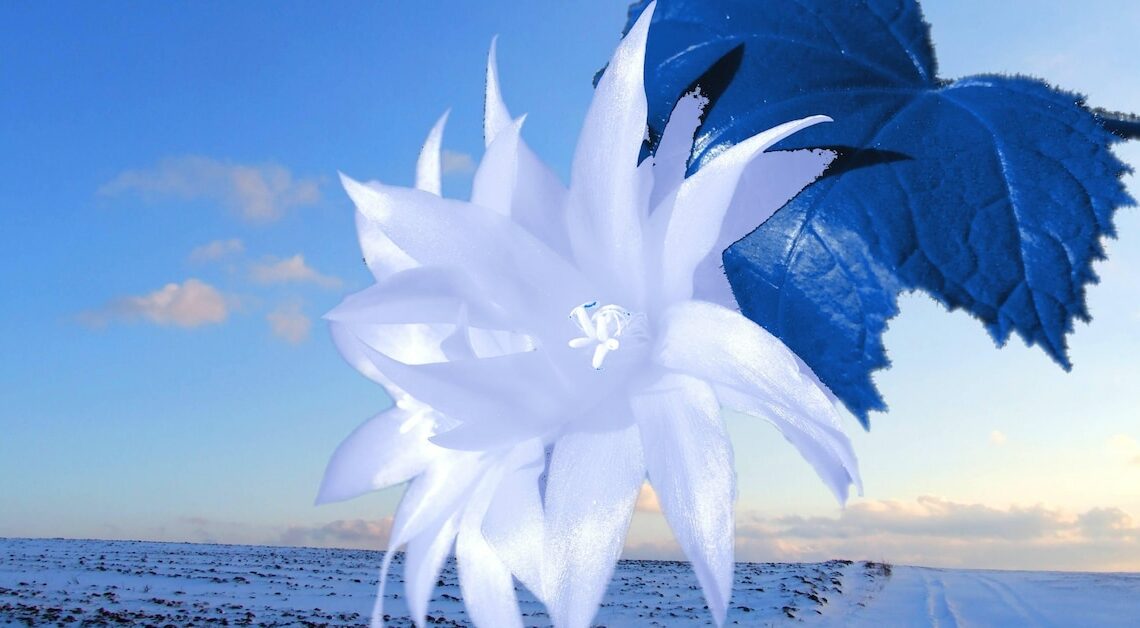
With GIMP you can easily cut out objects from your images. You can then insert them into other images or modify them further.
Cutting out monochrome objects with GIMP
The easiest way to cut out is to use a single-colored object. GIMP has the so-called “magic tool” for this, which selects the entire object.
- In the GIMP toolbox, select the “Magic Wand” as the editing tool. Then click on the object you want to cut out.
- GIMP will now usually select all elements of the object that have the same color. However, it may happen that individual pixels are not automatically selected. In this case, you should increase the threshold value.
- Now click the key combination (Ctrl) + (X). The object is now cut out and is in the clipboard. You can use (Ctrl) + (V) to paste the image section into other programs or photos.
- Tip: If you have taken a particularly good picture, then use it for a photo mug, for example, and give your loved ones a little treat.
Cut out any image objects with GIMP
For more complex objects, the “magic wand” will not help. But the “lasso” – another practical tool for cutting out in GIMP – can help here.
- Activate the “Lasso” in the GIMP tool window. Then click on the edge of the object you want to cut out. A small circle will appear.
- This time, click slightly offset on the edge of the image section. A second point will appear that connects to the first point. GIMP will later cut out the object along this line.
- Repeat the last step until you have completely circled the image object. Finally, select the first circle again. GIMP now marks the framed part of the image. It can be cut out with (Ctrl) + (X) and pasted into other photos.
- Tip: Zoom in on the desired object by turning the mouse wheel. This allows you to determine the image section more precisely.
More useful tips for photo editing with GIMP:
- Gimp: Change and adjust DPI – how to do it
- Gimp: Remove background or make it transparent
- Gimp: How to make blurry images sharp