There are several ways to delete empty rows in Excel. Among other things, you can use filters or automatically remove empty areas.
Excel: Delete empty rows using a filter
The filter function is one of the basics in Excel. You can also use this function to remove blank lines.
- Highlight the area where you want to remove the blank lines.
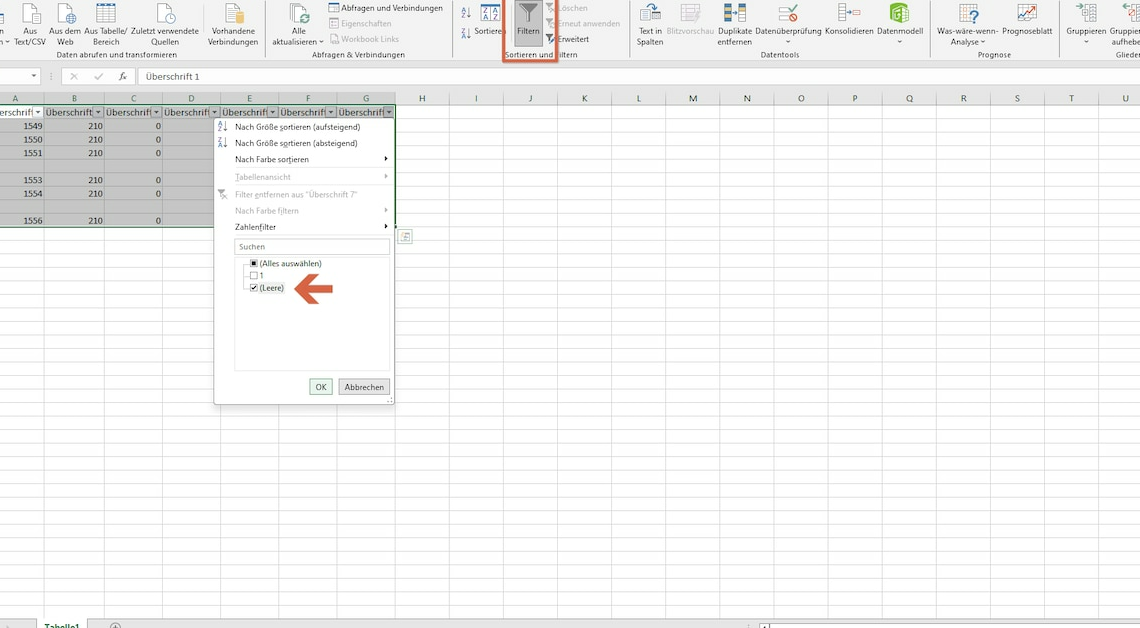
- Go to the Data tab and click Filter. The first entries in the respective columns turn into a drop-down menu.
- Click the arrow in a drop-down item. Uncheck “Select all” and activate the “Empty” entry.
- Repeat this process with the other columns.
- Select all lines highlighted in blue. Right-click the selection and select Delete Row.
- To switch back to the normal view, click “Filter” in the “Data” tab.
Excel: Automatically delete empty rows
It is also possible to automatically remove empty lines.
- Press F5 or go to Start > Search & Select > Go.
- In the window that appears, click “Contents”.
- Select “Blank Cells” and click “OK.” All empty cells are now highlighted.
- Go to Home > Delete > Delete Cells.
- Select “Whole Row” and click “OK.”
Excel: Delete many empty rows at the end
Sometimes it happens that there are many empty rows at the end of a table, e.g. B. can be disruptive when printing out in Excel. How to solve the problem:
- Scroll to the bottom of your table.
- Click on the last cell with content.
- Hold down Shift and press Ctrl + Down Arrow. All empty lines up to the end of the worksheet are now highlighted.
- Right-click the marker. Select “Delete” from the context menu.
Excel: Delete empty columns
Completely empty columns can also be removed.
- Select the entire data range (Ctrl + A).
- Go to Home > Search & Select > Go.
- Click “Contents” and select “Blank Cells.”
- Press Ctrl + Space to select entire columns.
- Right-click and select “Delete Cells.”
- Select “Whole Column” and confirm with “OK”.