The page break in Excel is used to arrange data for printing. If information no longer fits on one sheet, insert a manual break.
Insert page break in Excel table
In a large worksheet, the printout must be neatly divided into several pages. A manual page break allows you to place the print areas individually. This leads to better results than the automatic page break used by Excel by default.
- Open the document you want to edit in Excel.
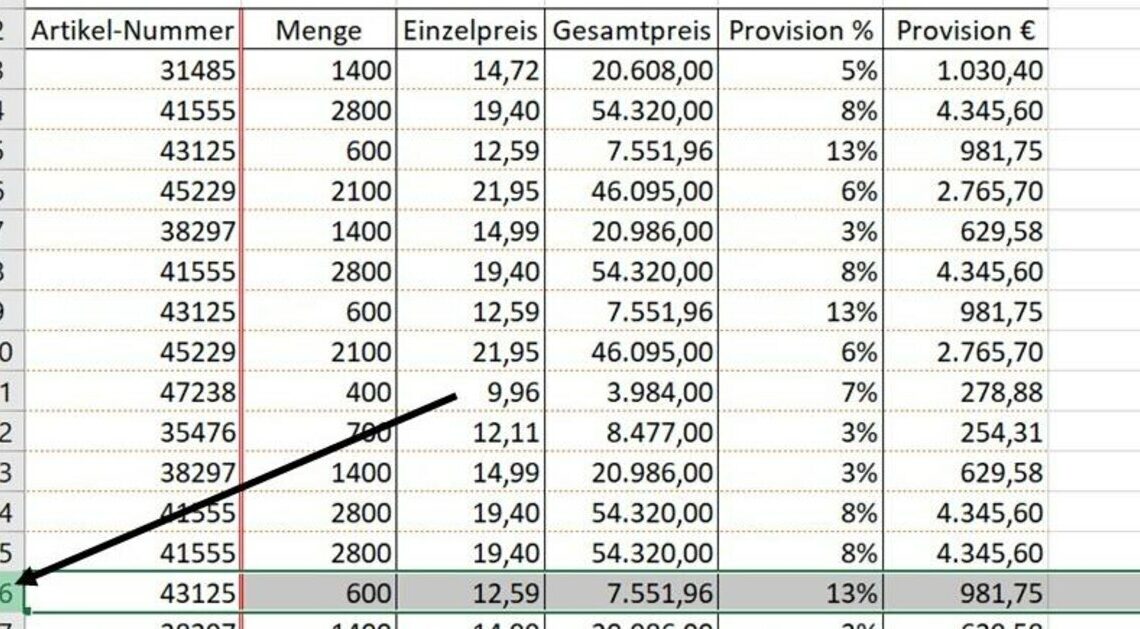
- If you want to limit the page length when printing, click on the number of the line before which you want to place the break (see Figure 1 below).
- Left-click on the “Page Layout” tab in the top menu.
- In the second submenu “Page Setup” you will find the item “Changes“. Click the point once with the left mouse button.
- A menu with three commands opens. Click on “Insert page break“. The data will now be transferred to a new page starting from the marked line. In our example, this is line 16.
- If you want to change the width of your table, click on the letter of the column in front of which you want to insert the break (see Figure 2 below).
- Repeat steps three through five to change the width of the table. In this example, the data starting in column E is moved to the next page.
Latest Videos
Change page length by page break in Excel. (Image 1)
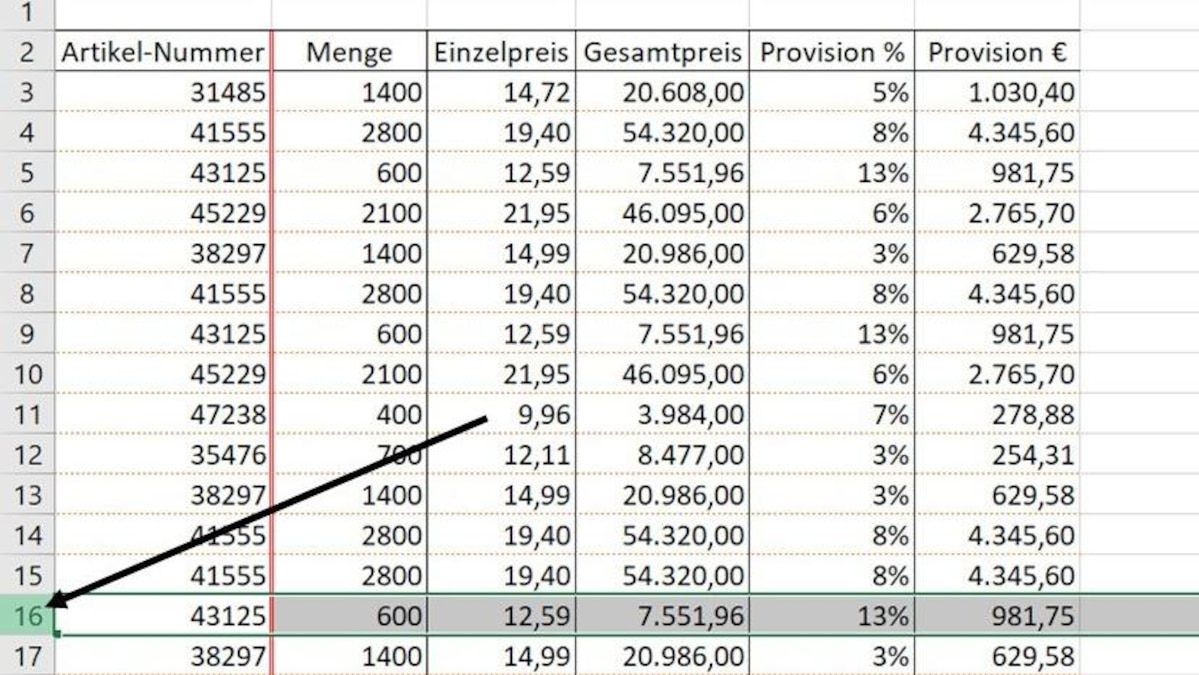
Change page length by page break in Excel. (Image 1)
Adjust the width of the page by page breaks in Excel. (Image 2)
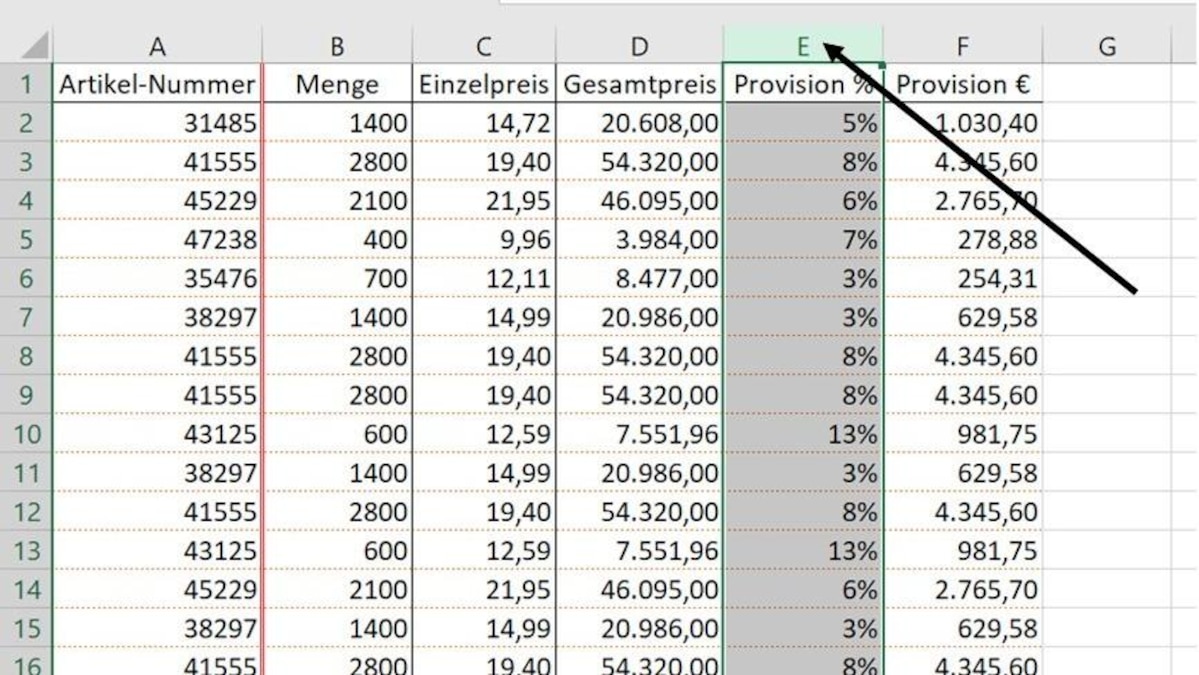
Adjust the width of the page by page breaks in Excel. (Image 2)
Move page break
If the layout or amount of your data changes, you may need to move existing page breaks. This happens, for example, when you add new rows or columns. To ensure that the print layout remains correct, move the existing breaks with the mouse.
- Open the document that you want to add new page breaks.
- In the upper menu, left-click on the tab “Opinion“.
- In the submenu “Workbook views” click once with the left mouse button on “Pagination preview“.
- You will now see your document with all the breaks you have inserted (see Figure 1 below). Blue lines show page breaks you have inserted manually.
- To move the break, point the mouse cursor at the line you want to move. The mouse cursor changes to an up and down arrow if you want to change the length of the page. If you want to change the width, the arrows point left and right.
- Now click and hold the left mouse button while you move the break up or down (for rows) or left or right (for columns).
- After you have made the desired changes, click on the “Workbook views” on “Normal” to return to data entry.
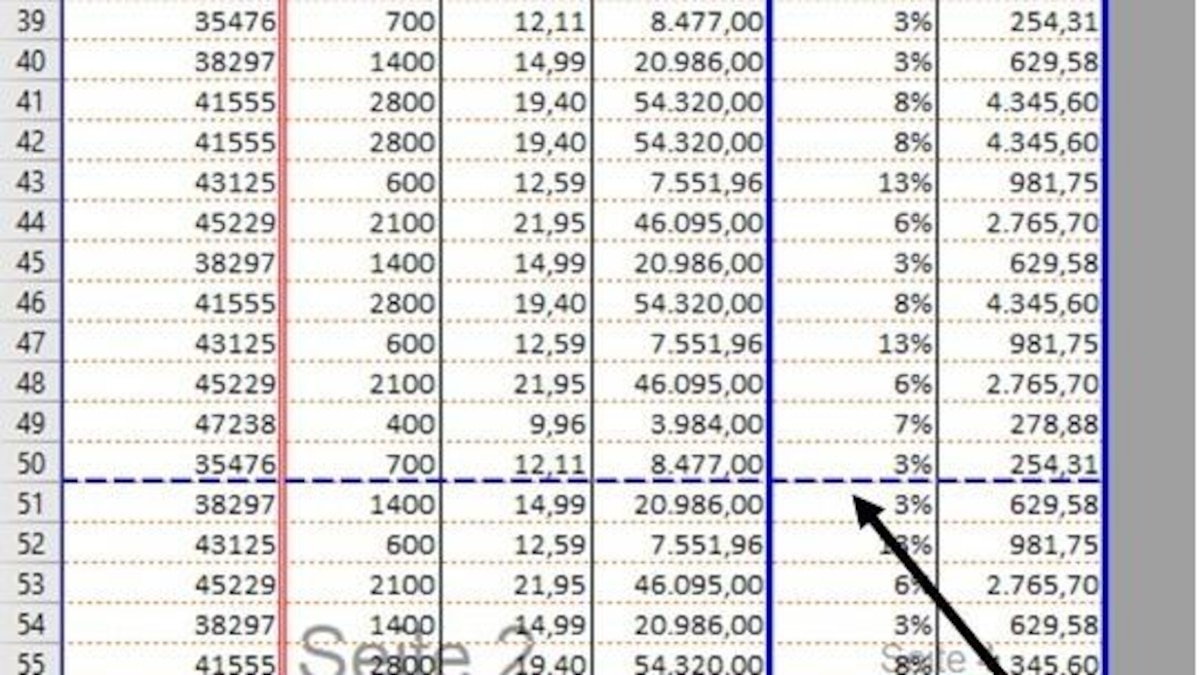
- Notice: Dashed lines indicate automatic page breaks (see Figure 2 below).
Latest Videos
A manual page break in Excel can be moved with the mouse (Figure 1).
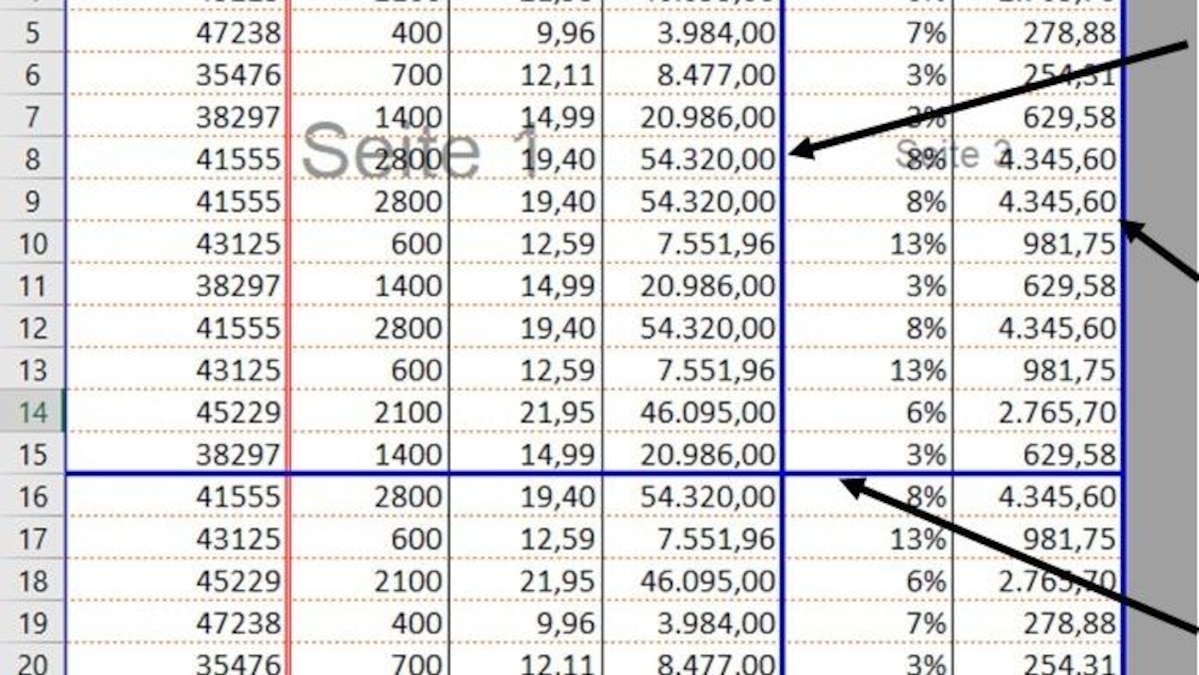
A manual page break in Excel can be moved with the mouse (Figure 1).
A dashed line indicates an automatic page break in Excel (Figure 2).
A dashed line indicates an automatic page break in Excel (Figure 2).