You can also install WordPress locally on your computer. However, in order to use the CMS system, a number of requirements must be met in advance.
Install WordPress – you need this software
WordPress requires a web server with PHP, MySQL and Perl environment to function. This requirement is not always met with a standard Windows system. The cleanest way to create the required working environment is to use XAMPP. This is a distribution of Apache (web server), MySQL (database server), PHP and Perl (scripts/applications), which is relatively easy to install even for an inexperienced user. XAMPP is available for Windows, Linux, Mac OS X and Solaris.
- After you have downloaded the current version of XAMPP, start the installation. The XAMPP Setup Wizard will guide you through the installation. You can customize the installation in the “Select Components” window. Unless you are clear about the meaning of the components, leave them all checked for convenience. You can freely choose the target directory. It is safest to use the suggested target directory.
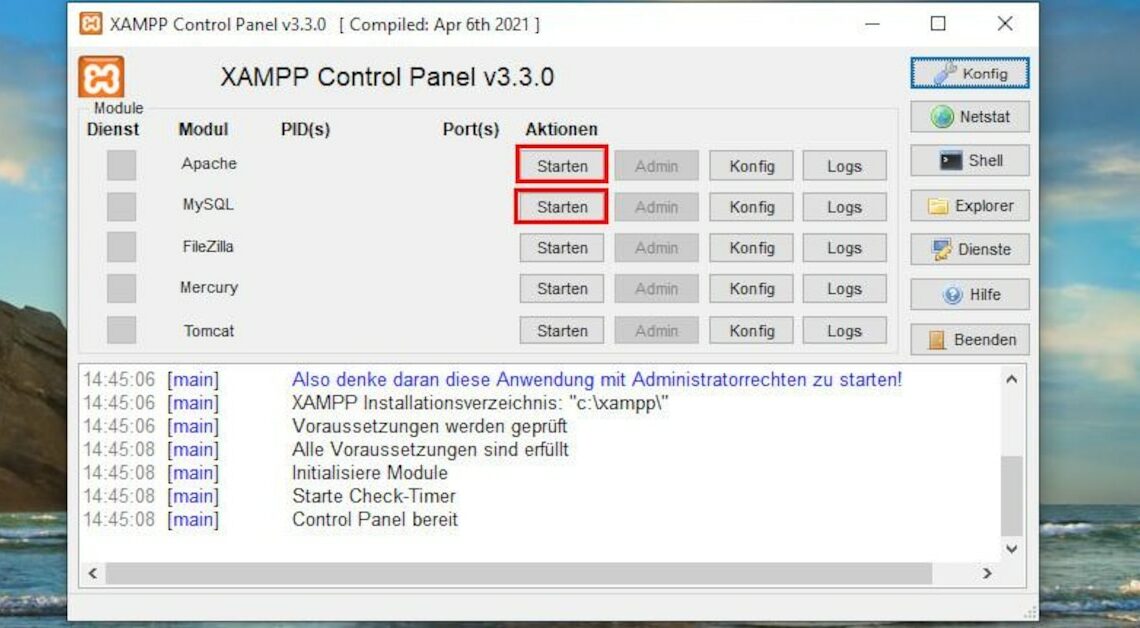
- After the installation is complete, the XAMPP Control Panel starts. If you have no previous experience with the administration of a web server, it is sufficient to use the basic configuration of XAMPP. Click on the start buttons for “Apache” and “MySQL”.
- Depending on the configuration of your system, it is possible that an active firewall requests permission for the web server and database service. If your computer is in a local network and you also want to access the web server from other computers, you must allow access using the “Allow access” button.
- If you only use the web server on the computer on which you installed it, you do not need to grant access.
- Right-click on the XAMPP icon in the notification field on the taskbar to access a small control menu so that you can deactivate or activate the servers at any time.
Create a database in the WordPress system
After downloading and installing XAMPP, you need to create a database in WordPress' system. To do this, proceed as follows:
- Open a web browser and enter http://localhst/phpmyadmin in the address bar. Then click on “Databases” at the top right.
- Under “Create new database” enter a database name of your choice. In the drop-down field to the right, select “utf8_general_ci” and click on the “Create” button.
- Then click on the database you just created in the left column. Now click on the “Check rights” button and then on “Add user”. You can then enter your username.
- Under “Hostname” select the “Local” option if you only want to access the database from your computer. Select “Every Host” if you want other computers on your network to access the database.
- Assign a password and check whether the option “Grant all rights to the database (database name)” is selected in the “Database for user account” line. Don't forget to click “OK” when finished.