With the image editing program Gimp, an old photo can be easily digitized and even restored if damage has occurred over time.
Digitize an old photo with Gimp – here's how
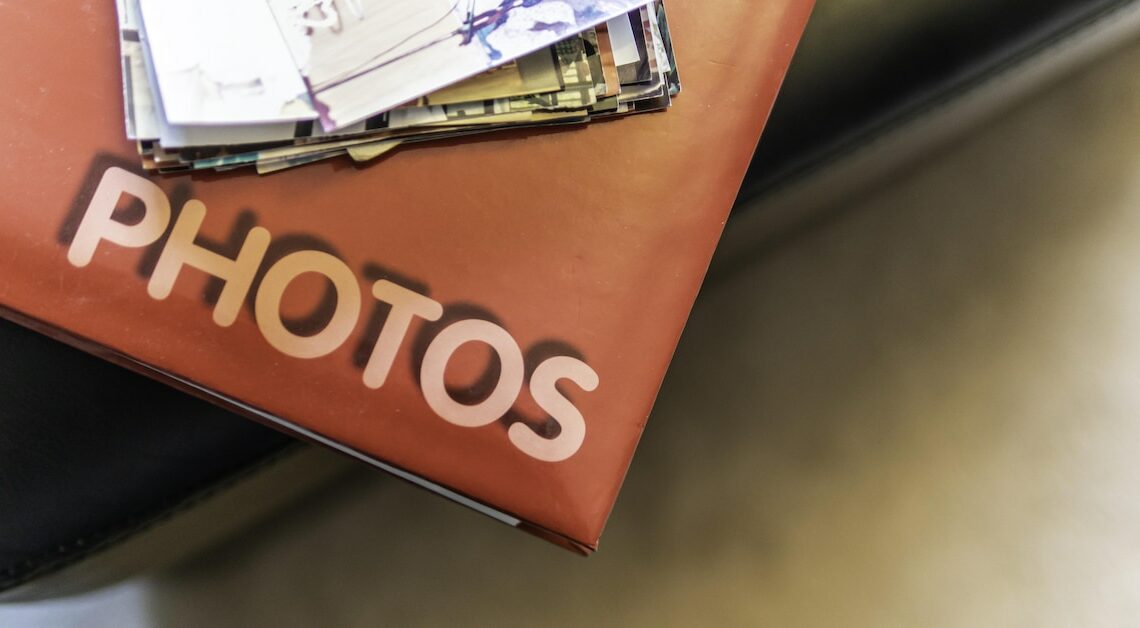
Old pictures are real treasures that need to be well looked after. Unfortunately, they fade over time, which is why it is important to digitize the photos and thus preserve them for eternity. This can be done easily with a scanner and the image editing program Gimp.
- First, remove dust, hair and dirt from the old photo using a lint-free cloth or brush.
- Put the image in your scanner and go to “File – Create – Scanner/Camera” in Gimp. Under Sources, click on your scanner.
- If you want to scan a black and white photo, it is a good idea to select the Grayscale 16-bit or Grayscale 8-bit setting during the scanning process. For color photos, click 48-bit color.
- For the resolution, you can choose 600 dpi for a 9×13 cm photo. If you want to enlarge the image, go to 600 or 800 dpi.
Restoring old images with Gimp
Depending on the quality of the digital template, you will need to take several steps to restore an old photo. We will show you how to get the best out of old photos using a relatively poor template. The best thing to do is to play around with the values of the individual settings until you are happy with the result.
- Open your image in Gimp.
- In our example, the image quality is relatively poor and there are a lot of gray streaks. You can remove these using the tool under “Colors” > “Brightness/Contrast”. If you increase the contrast and reduce the brightness at the same time, unsightly gray streaks will turn into black.
- You can easily repair spots and cracks using the “Healing Tool”. To do this, enlarge the image so that you can work on the details better. In the toolbar, select the “Healing” tool and adjust the size of the brush so that it fits the respective section.
- Now click on a defect-free part in the vicinity of the damage while holding down the Control key (Ctrl). Make sure that you select a part in the immediate vicinity of the stain or crack, otherwise the brightness and color may not match.
- If you now release the control key, you can use the mouse to correct the errors.
- Repeat steps 4 and 6 until all cracks have been repaired or stains have been retouched.
Also interesting:
- GIMP Tutorial: The 5 most important functions simply explained
- Gimp: Remove shadows – the best tips
- Gimp: Restore toolbox – how to do it